The Art of floor Sanding (part 4)
Hi floor bore here again and i'm sure after the exhilirating ride of "The Art of Floor Sanding (part 3)" You've been excitedly waiting for part 4 to come along.
So here goes…
Lets quickly summarise where we are at .
In part 3 we talked about some basic concepts of floor sanding, using lights and our initial sanding process.
So on our imaginary Victorian pine floor, we have now finished with our belt machine ….
Lets remove it out of the way !
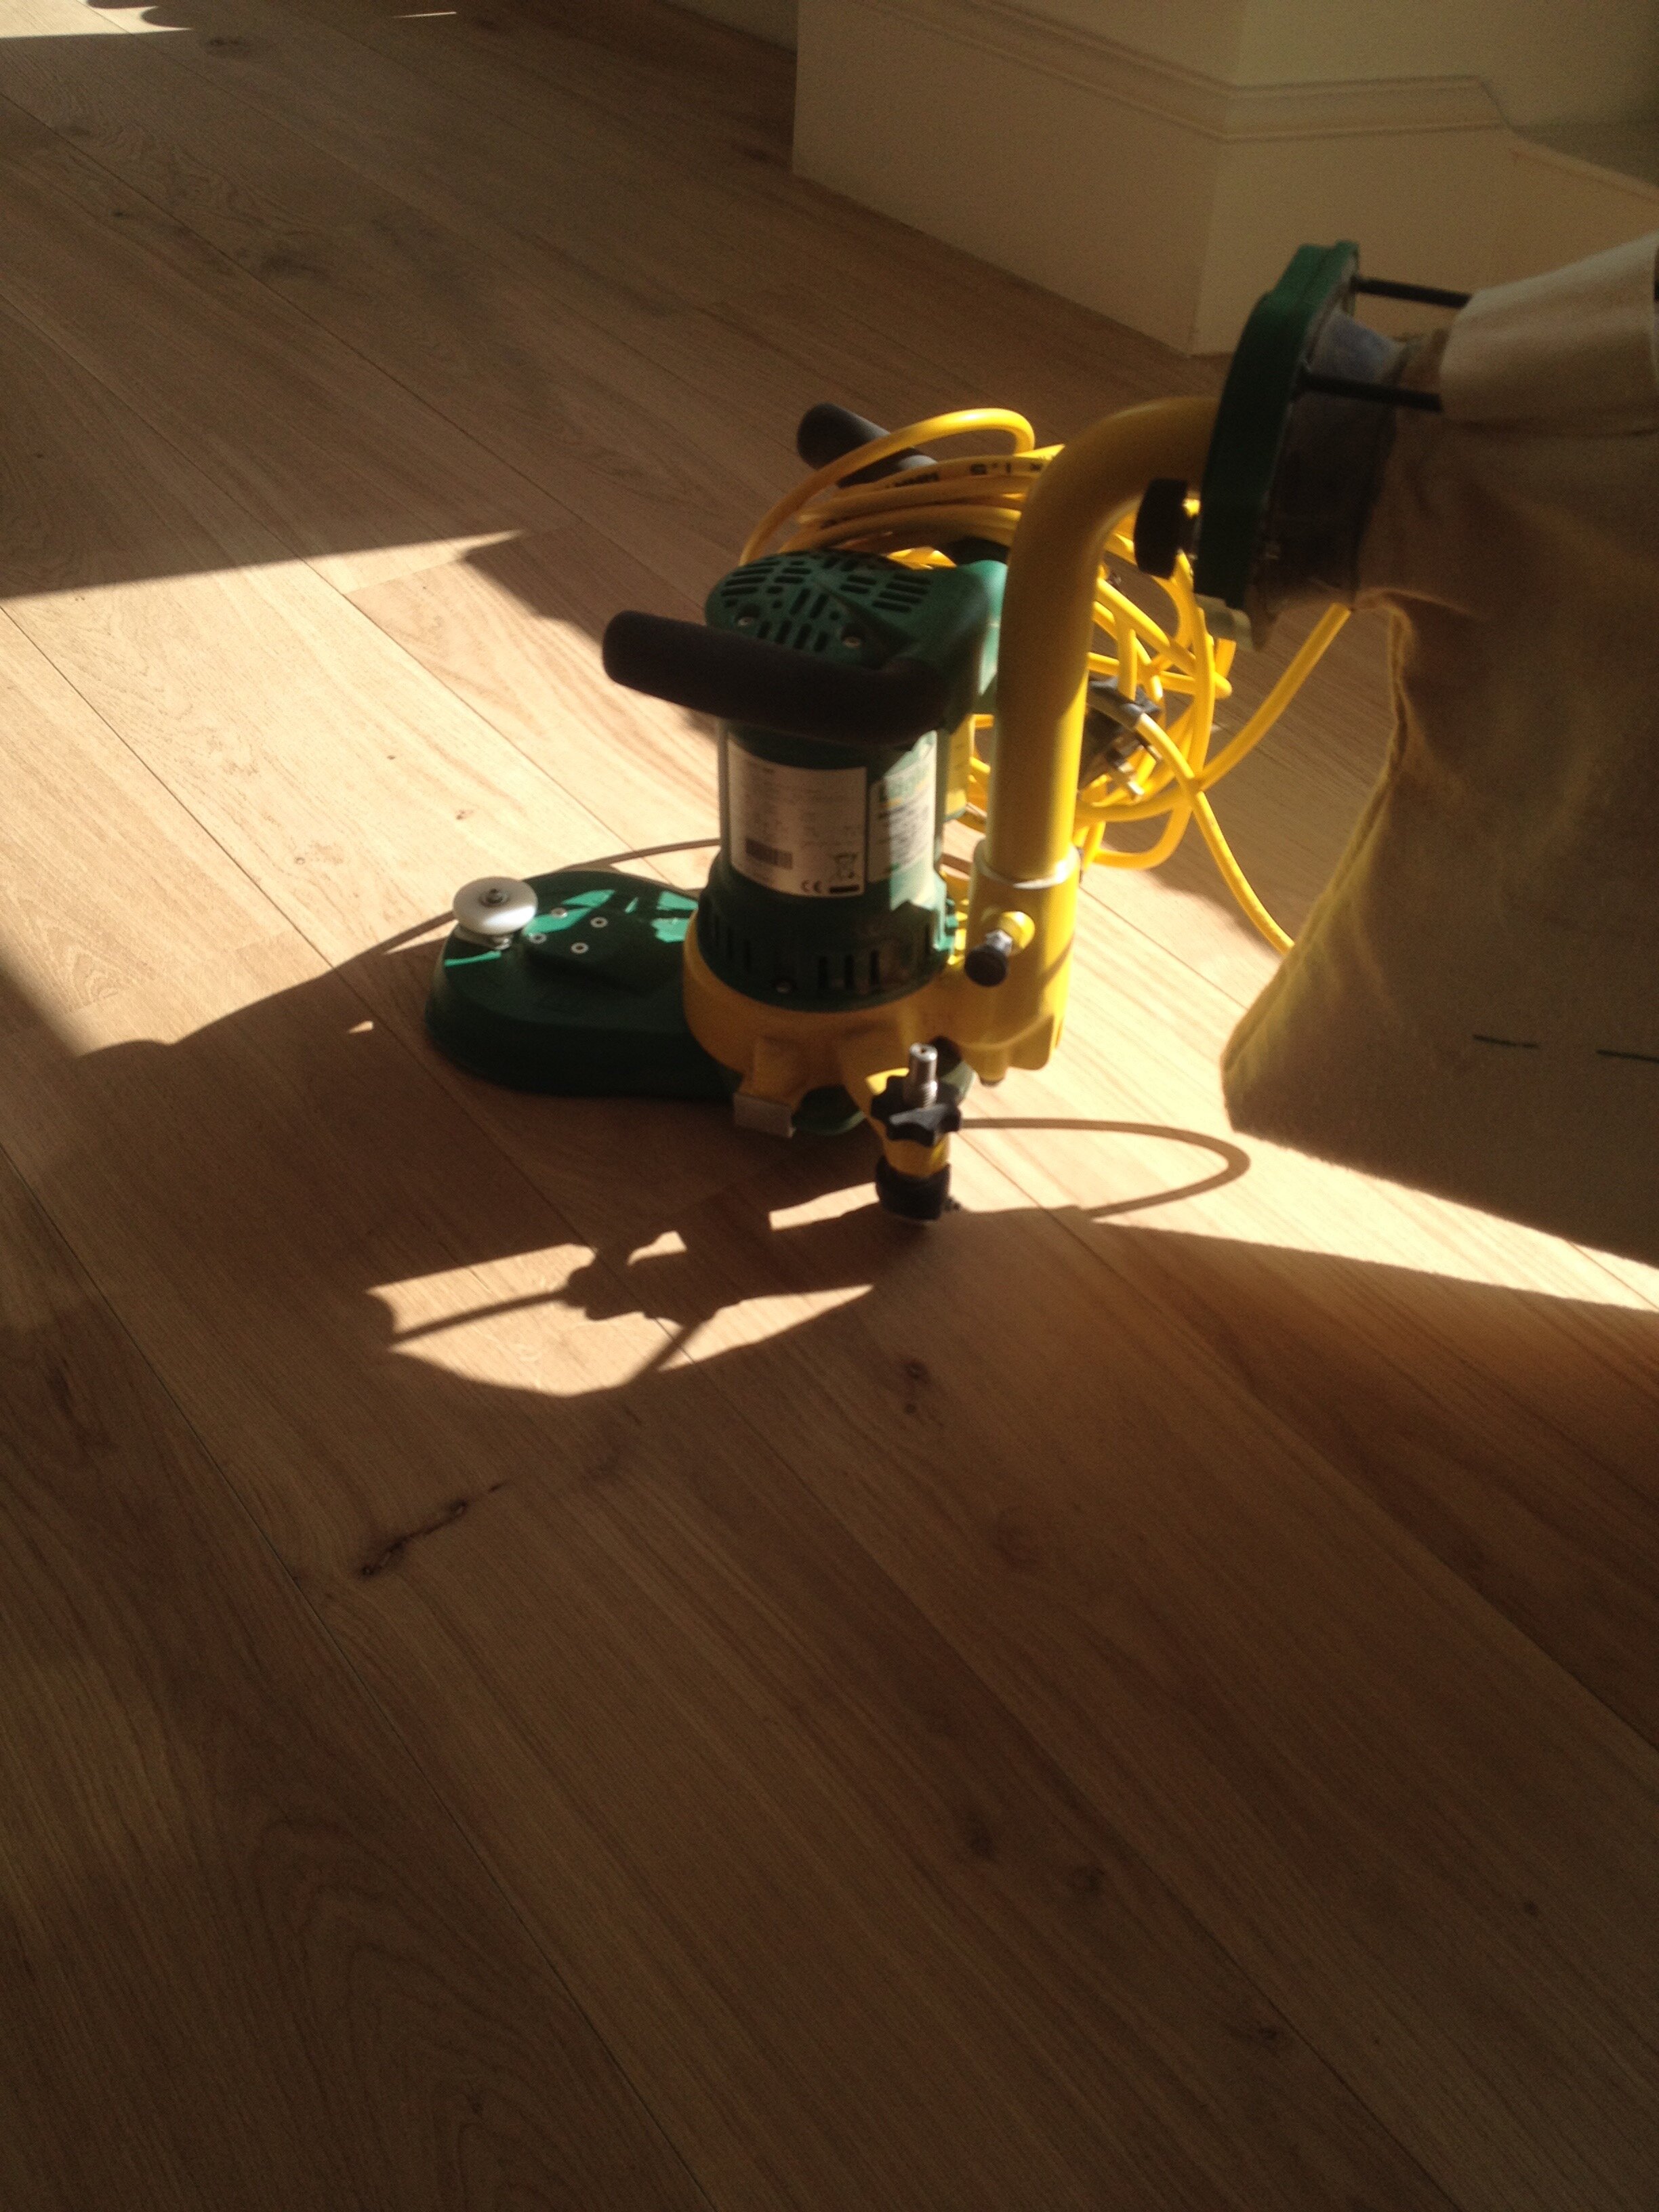
We will now edge for the first time .
The initial sand with the belt sander will have flattened the floors and brought the overall level down a notch .
Our edger machine will bring all the edges into line .
Edger machines do vary quite a lot so again i won’t talk about the different makes for now but as with our belt sander make sure to use a bright floor light as you edge, ( a rechargeable Led is perfect for this process)
It may seen overkill to use the lights as you edge but it will save you a huge amount of time in the long run .
Edging technique can take a little time to learn and varies depending on the machine however the finished result should be the same.
On our first pass we are looking to flatten the floors and create a smooth even surface using a similar abrasive to the belt machine.
Lagler Flip
For instance if we belt sand with a 36 grit we would probably edge with a 40 grit (36 edger papers are not manufactured)
This is still a rough grit so there will be visible scratches but the surface should be flat and the scratches even.
A word about abrasives …
Abrasives come in differing grits, are made from different minerals, and vary a lot from manufacturer to
manufacturer. Their performance is also dependant on the machine you are using.
This applies to belt sanders, edgers and rotary finishing machines .
We have built up a set schedule and system of particular abrasives that we use depending on the floor we are restoring.
It is up to you to find the best schedule for your gear, abrasives and floor
However the theory is the same .
We want to make sure that the scratches caused by each grit are removed entirely by the subsequent grit and so on …
whilst also taking into account possible machine marks.
Okay thanks .